EN | ES

Drone Light Painting: Illuminating Artistry from Above

Drone Light Painting

Do you like contemporary art? If you like it, then you probably follow new trends and don’t miss the development of the technologies. Today we would like to tell you more about a new form of contemporary art, which is called drone light painting. Join the Lumasky Drone Show, and let’s delve into this beautiful world of art!

Drone light painting

What is light painting?

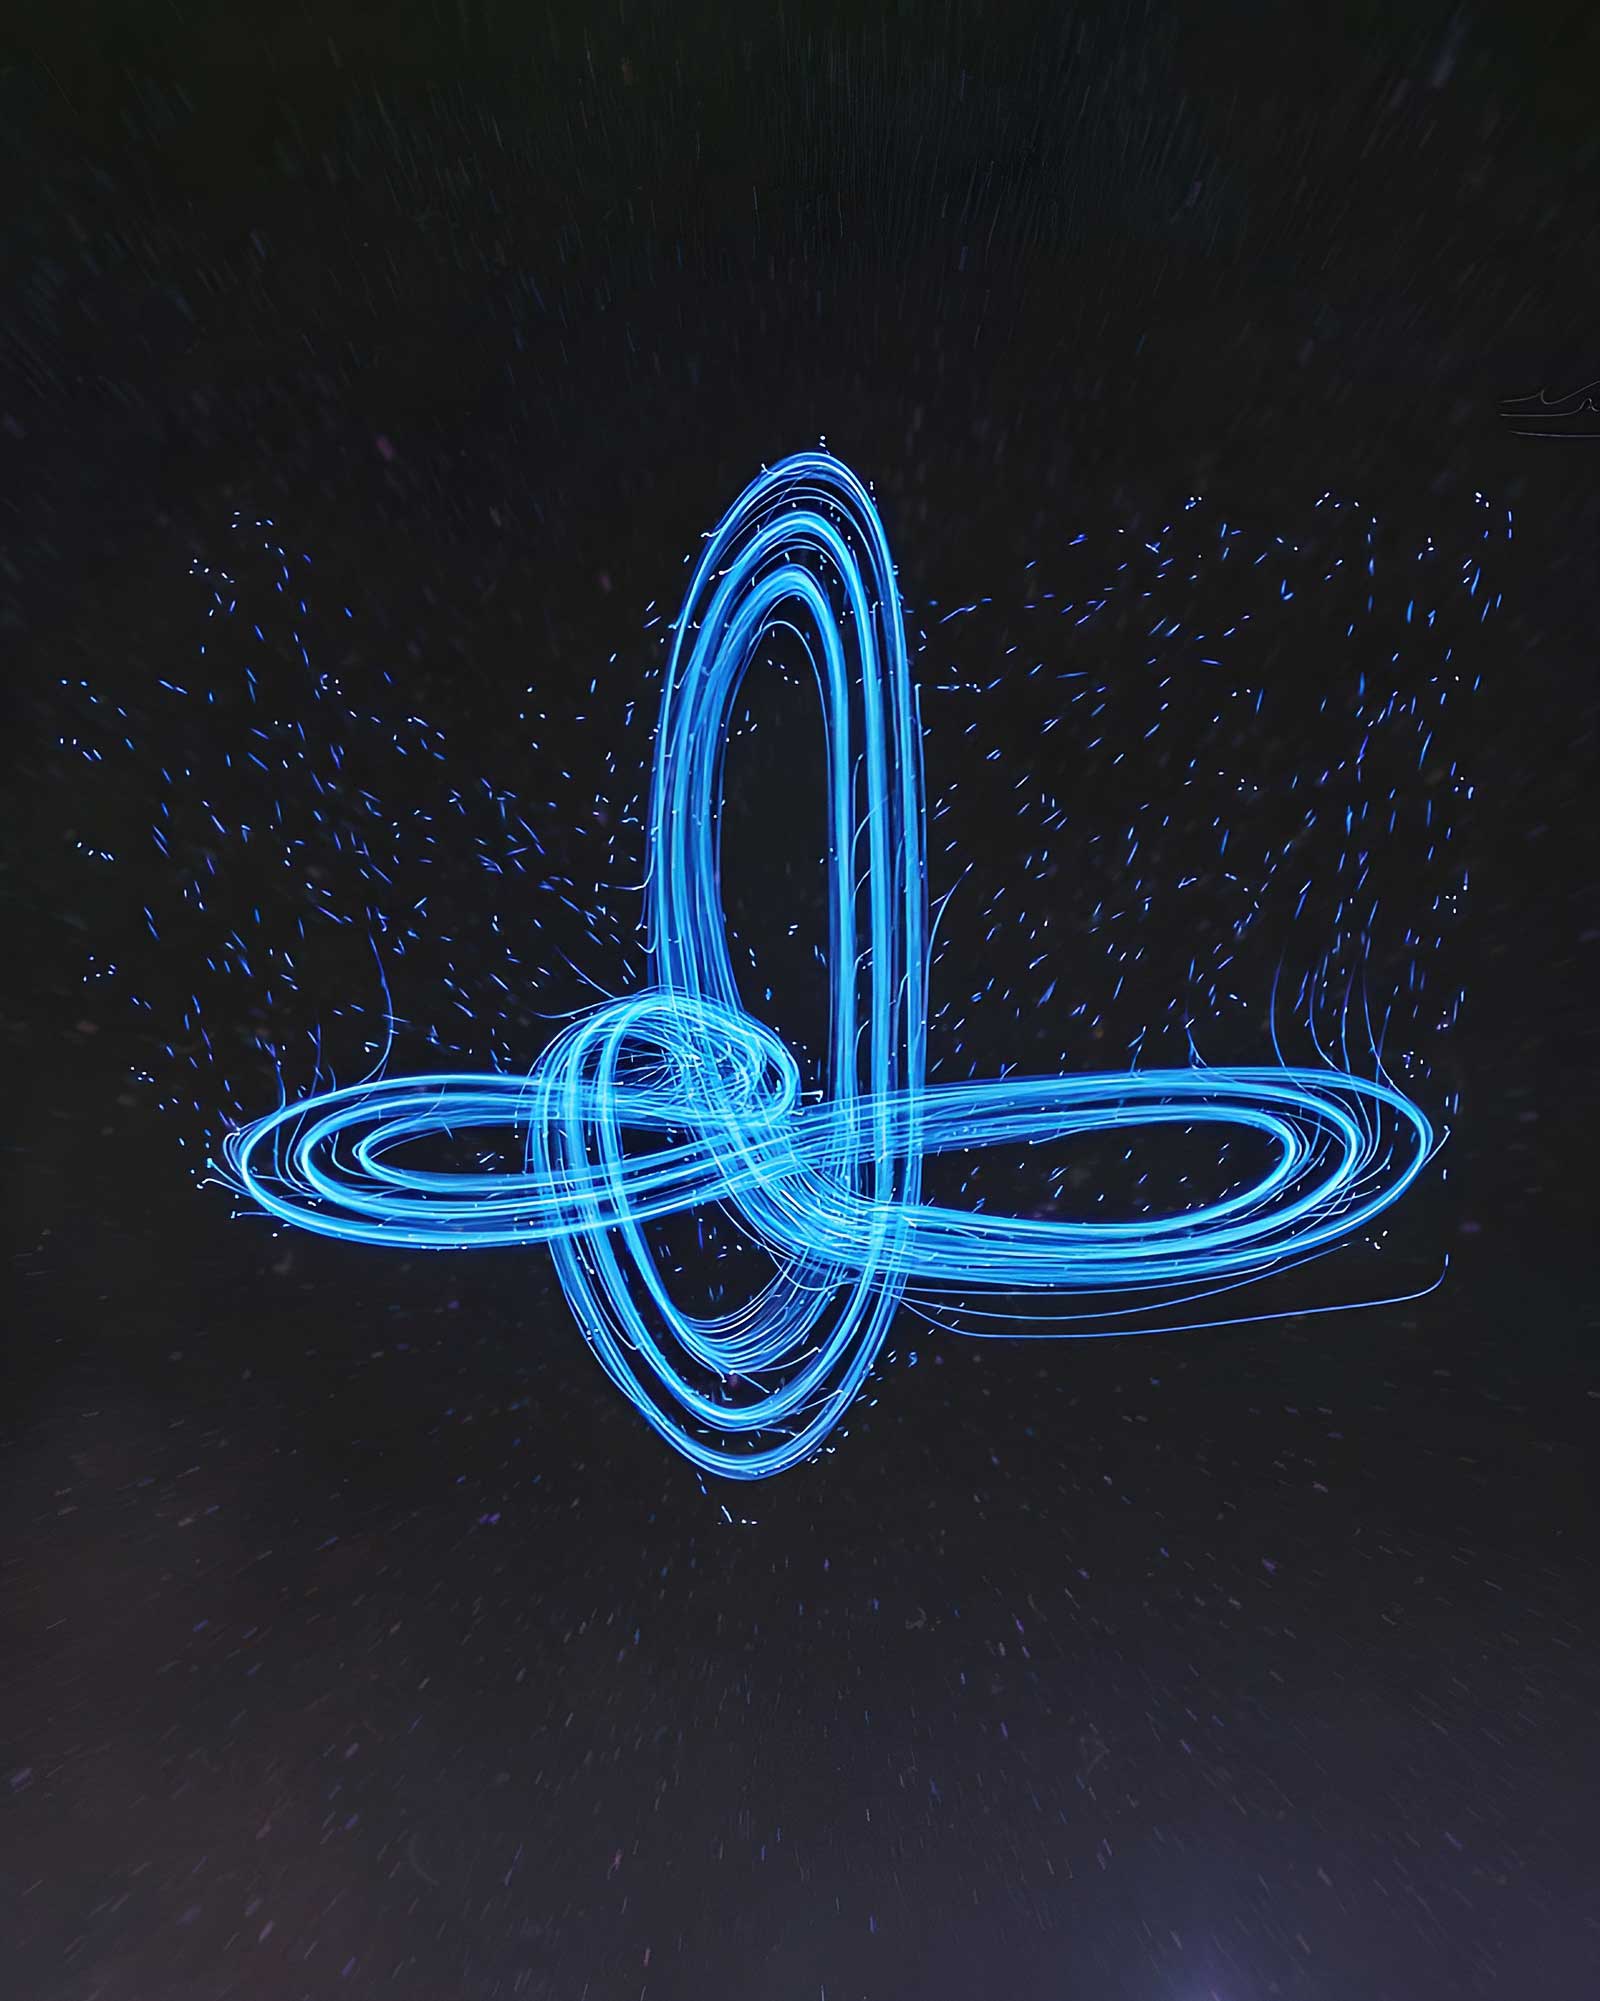
First, let’s start with the definition. Light painting is an extraordinary photographic technique that unleashes the full potential of long-exposure wizardry. With a skilled hand and a camera set to capture the magic, photographers can transform mere light sources into mesmerizing works of art. In the enchanting darkness, they become masters of illumination, wielding handheld light sources like brushes on a canvas. A flickering flashlight, a radiant glow stick, or a dazzling LED becomes the instrument of creation. With every deliberate movement, a photographer paints and draws in the air, leaving behind trails of ethereal light that dance through the frame. As the camera’s shutter stays open, time becomes an ally. Artists weave intricate patterns, shape-shift the light, and even inscribe words upon the canvas of the imagination. Each stroke and swirl transforms the captured image into a visual symphony of abstract beauty. Light painting opens up a world of infinite possibilities, where imagination and technical skill merge seamlessly. It’s a playground for the passionate and the curious, where people of art can forge new paths and breathe life into the wildest visions.


What is light painting with drones?

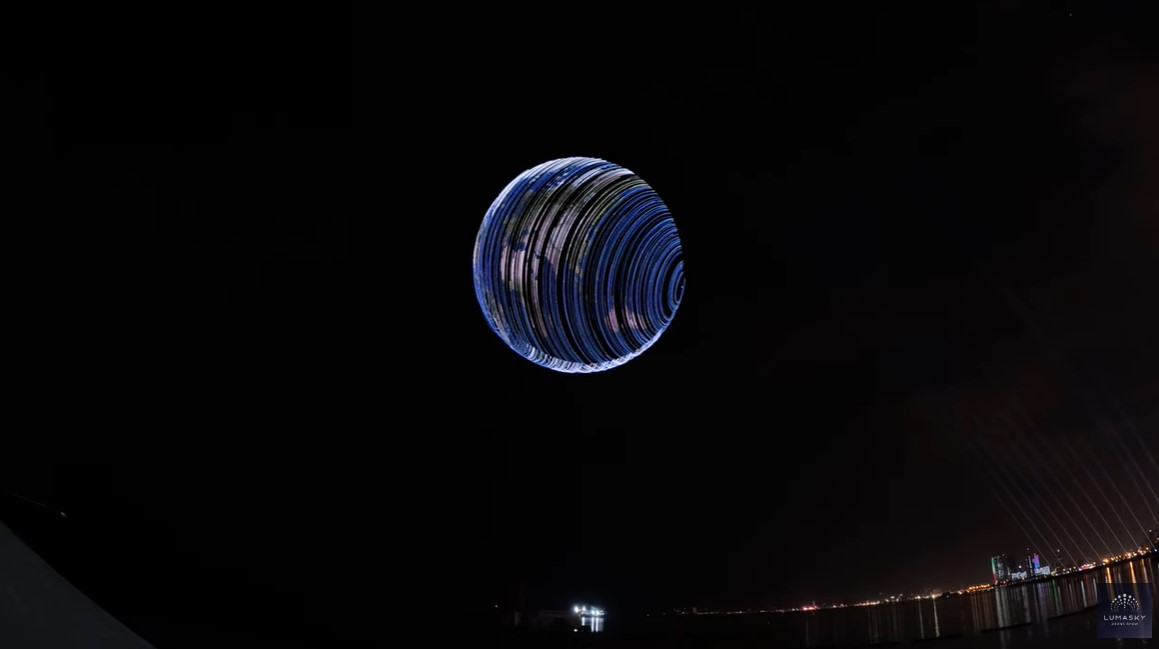
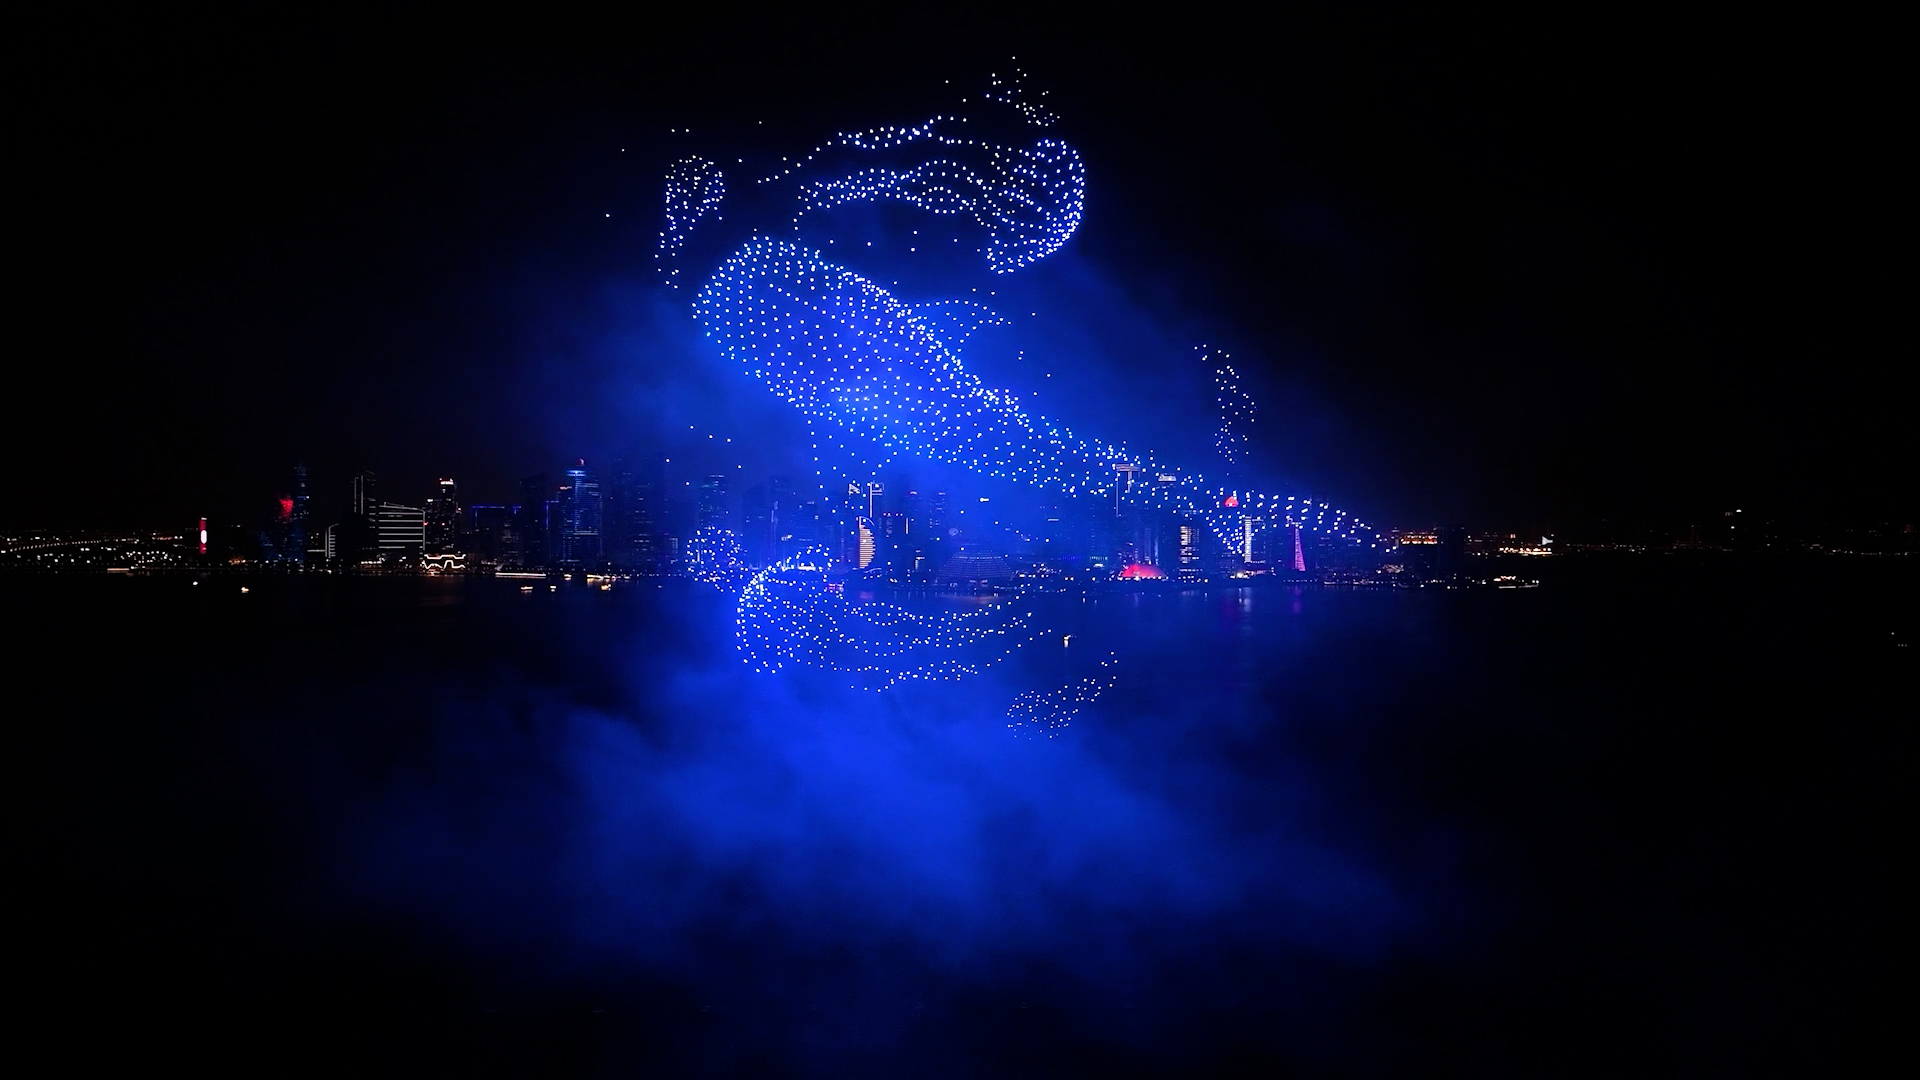
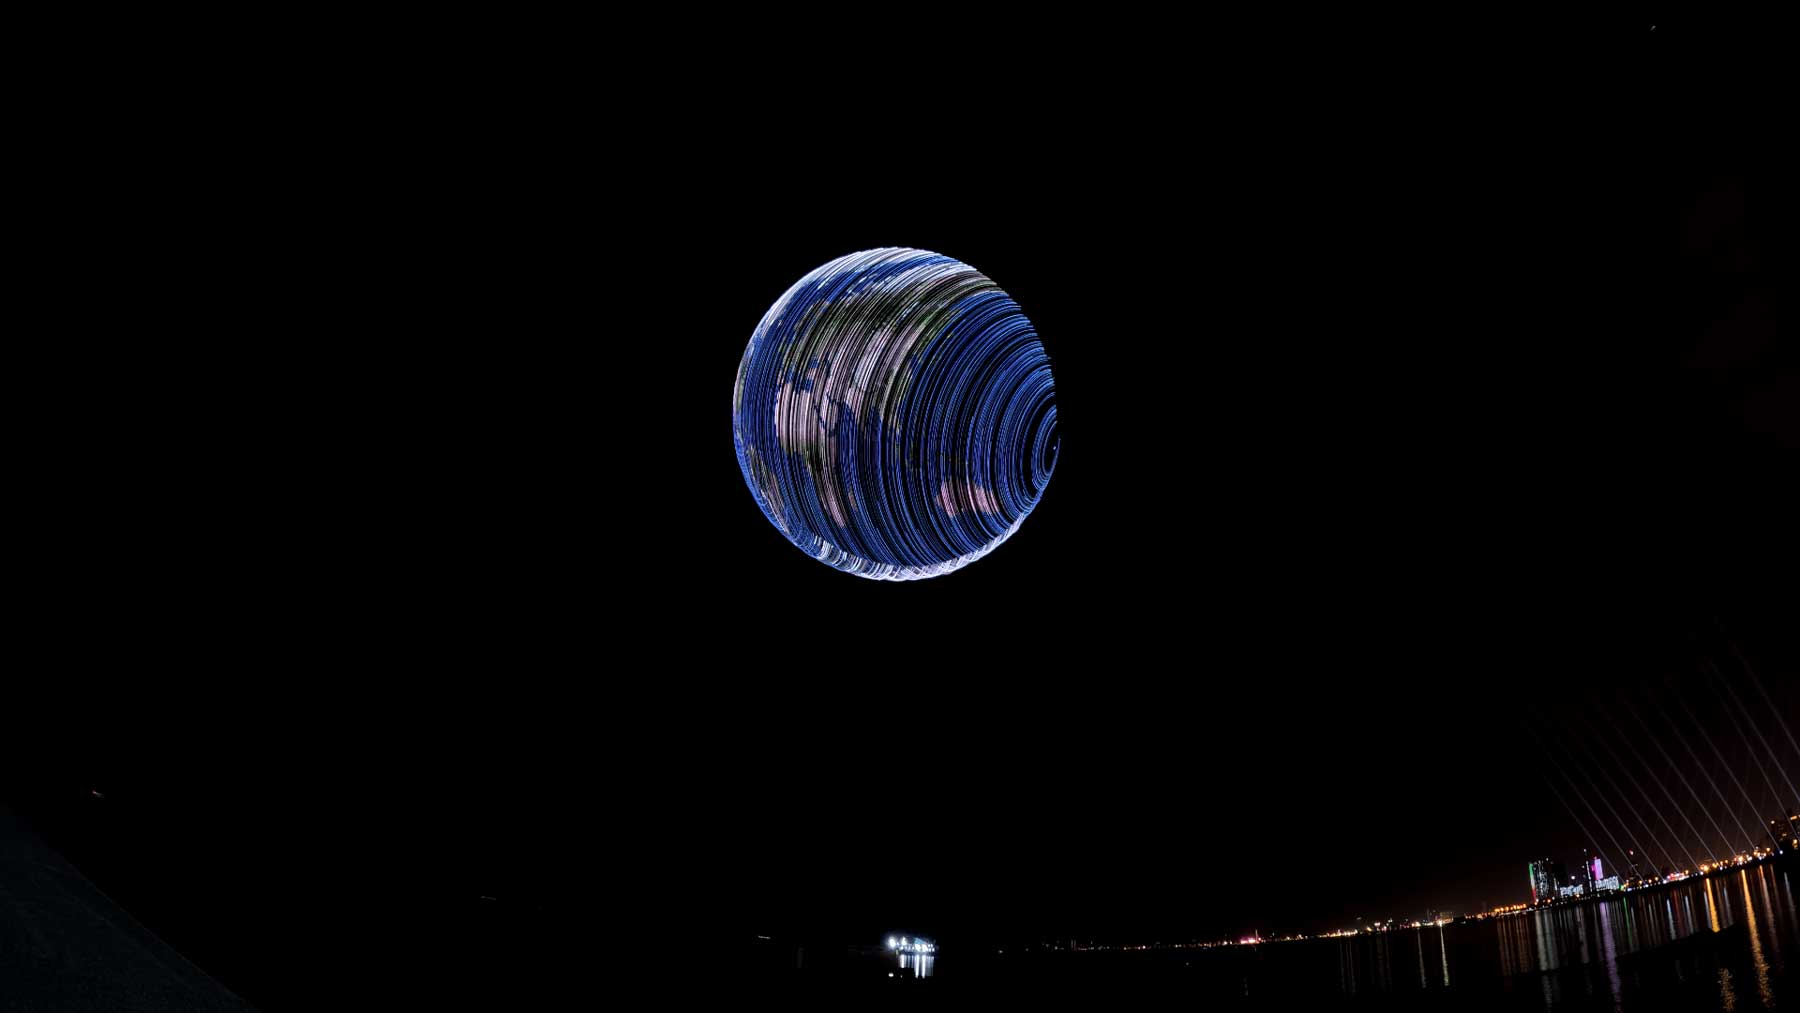
Drone light painting is a variation of the light painting technique. It includes flying a drone equipped with programmable lights and performing choreographed movements while taking long-exposure photographs. The drone’s flight path and movements are carefully planned and executed to create specific light patterns, trails, or shapes in the photograph. For drone light painting, the photographer typically sets up their camera on a tripod and adjusts the settings for a long exposure. The drone is then flown in the desired pattern or trajectory while the camera’s shutter remains open. 

The movements of the drone and the illuminated lights leave trails of light that are captured by the camera, resulting in vibrant light paintings. At Lumasky Drone Show we have a skilled team of specialists that can help you to bring your colorful visions to life. We have experience in drone light painting and we are eager to collaborate with talented artists! Here’s an example of the drone light painting performed by Lumasky Drone Show.

What equipment is required for drone light painting?

  • Drone: Choose a drone that is compatible with your desired light painting technique. It should have the capability to carry and control programmable lights or LEDs. Ensure that the drone is in good working condition and has a stable flight performance.
  • Lights or LEDs: Acquire lights or LEDs that are specifically designed for drone light painting. They should be lightweight, programmable, and capable of producing vibrant and controllable colors. Also, the lights should be easily attachable to the drone and have a secure mounting mechanism.
  • Camera: Use a camera that allows manual control of exposure settings. A DSLR or mirrorless camera with long exposure capabilities is preferred. Ensure that you have a compatible lens with the desired focal length for capturing the light painting effect.
  • Tripod: Invest in a sturdy tripod to keep your camera stable during long exposure. This will prevent unwanted camera shake and ensure sharp images.
  • Remote controller: Use a reliable and responsive remote controller to operate your drone. It should provide smooth and precise control over the drone’s movements.
  • Extra batteries: Have additional batteries for both your drone and camera. Long-exposure photography and drone flight can drain batteries quickly, so having spares ensures uninterrupted shooting sessions.

Drone light painting

The process of drone light painting

The process of drone light painting involves several steps to achieve the desired light patterns and capture them in a photograph. Here’s a general overview of the process:

  1. Set up your camera: Mount your camera on a stable tripod and adjust the settings for long exposure photography. Set a slow shutter speed, typically several seconds or more, to capture the movement of the drone lights. Choose an appropriate aperture and ISO to achieve the desired exposure and depth of field.
  2. Attach the lights to the drone: Install the programmable lights or LEDs onto your drone securely. In order to avoid any detachment during flight, make sure they are spread equally and attached well. Ensure they are evenly distributed and well-attached to prevent any detachment during flight. Make sure the lights are programmed and ready to produce the desired colors and patterns.
  3. Plan your flight path: Based on your research and planning, determine the flight path and movements you will perform with the drone to create the light painting effect. Consider the shapes, patterns, or designs you want to achieve and how the drone’s movements will produce those effects in the air.
  4. Start the drone and initiate flight: Power on the drone and perform a pre-flight check to ensure all systems are functioning correctly. Take off and ascend to the desired altitude, keeping in mind any local regulations and safety considerations. Position the drone within the frame of your camera’s view.
  5. Execute the light painting movements: Once the drone is in position, initiate the planned flight movements. This involves flying the drone in specific patterns, trajectories, or shapes to create the desired light trails in the air. Coordinate the drone’s movements with the timing of the camera’s exposure to capture the light painting effect.
  6. Monitor the camera and drone: While the drone is performing its movements, monitor the camera’s live view or use a remote shutter release to trigger the exposure. Keep an eye on the drone’s position and flight path to ensure it stays within the frame and avoids any obstacles or hazards.
  7. Review and adjust: After each exposure, review the captured image on the camera’s display to assess the results. Make any necessary adjustments to the drone’s movements, light settings, or camera settings to refine the light painting effect or correct any issues.
  8. Repeat and experiment: Continue repeating the process, making adjustments, and experimenting with different flight paths, movements, and light patterns to achieve a variety of light painting effects. Take multiple shots to increase the chances of capturing the perfect image.
  9. Post-processing: Once you have completed your shoot, transfer the captured images to a computer for post-processing. Use photo editing software to adjust the exposure, colors, and any other desired enhancements to refine the final result.


Enjoyed it?

5.0 rating based on 2 ratings
Rating 5 based on 2 feedbacks